Elementor Pro Review: From Page Layouts to a Complete Website
See how Elementor Pro connects reusable templates, dynamic project content, enquiry forms and WooCommerce layouts in one coherent WordPress design workflow.
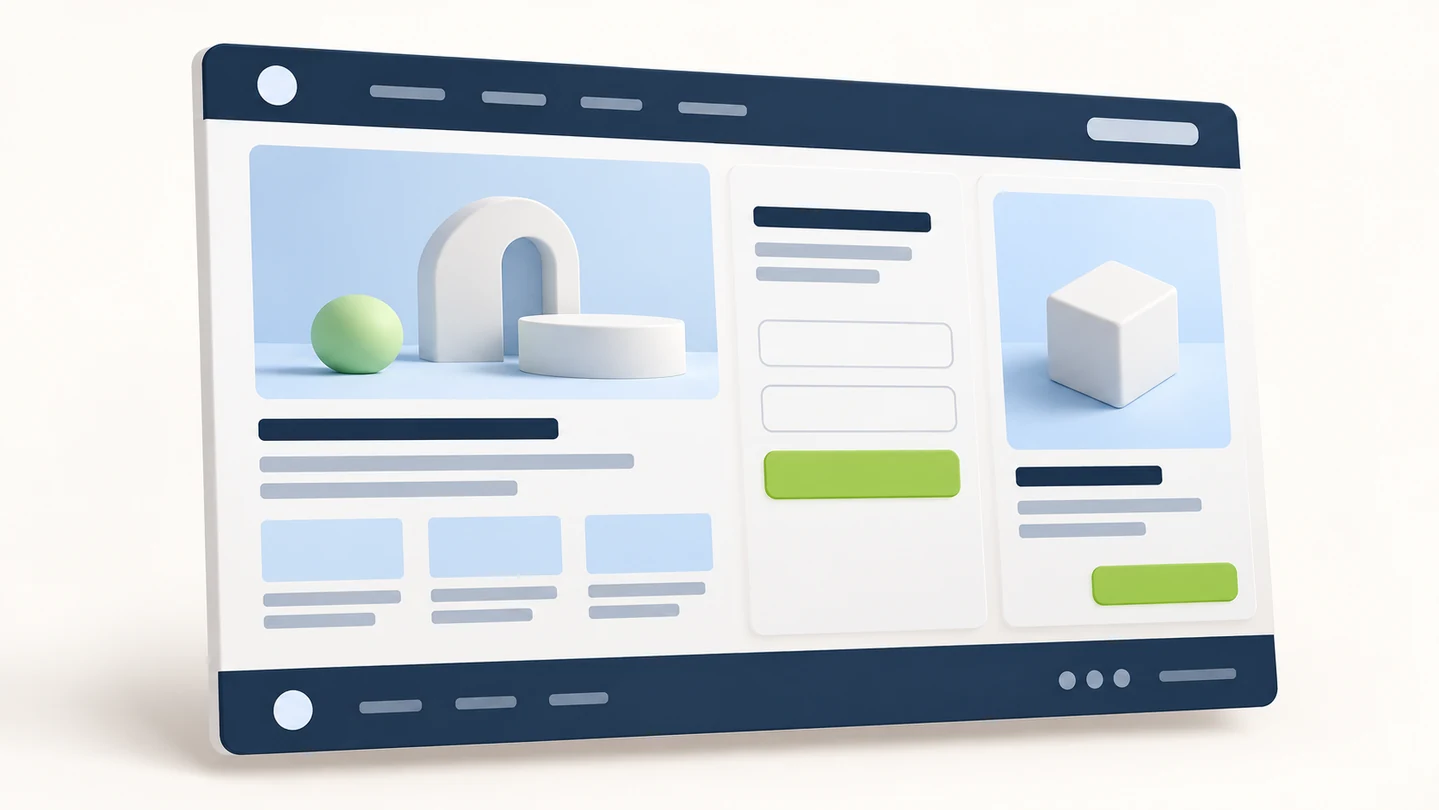
A design studio needs a website with a clear services page, a portfolio that is easy to maintain, and an enquiry form that feels like part of the brand. Building each screen separately can solve the immediate layout task. Elementor Pro becomes more useful when those screens share a design system, reusable templates, and a consistent route from browsing to taking action.
This Elementor Pro review explores that connected workflow. Theme Builder, dynamic content, forms, popups, and WooCommerce design tools give you ways to shape more of a WordPress website inside a familiar visual editor. The practical benefit is control: you can make the header, content, and customer journey support the same purpose.
This documentation-based review connects Elementor's published capabilities with practical site-building examples. Explore how those tools work together, with an affordable GPL download route for readers ready to build.
Start with a design system you can reuse
For the studio in our example, the first useful decision is a small set of styles: a readable body font, a heading font, a brand accent, and a consistent button treatment. These choices give a service page, project page, and contact form a common visual language.
Elementor's global colors and fonts let you reference shared styles in your layouts. When a linked global value changes, the elements using it follow that change. Theme Style adds defaults for elements such as headings, buttons, and form fields. These controls belong to the wider Elementor design workflow; Pro extends that workflow into more areas of the website. Elementor explains how global styles and Theme Style work together.
In practice, give each style a useful role. A primary button invites an enquiry. A quieter secondary button opens a project example. Keep the same hierarchy on both pages so visitors recognize the main action without relearning the interface.
The shared style values also make revisions more deliberate. If the studio adopts a different accent color, update the linked color rather than searching through every individual widget. Apply the same thinking to page construction: establish a clear rhythm for section spacing, image proportions, and headings before adding detail. The result is a site that is easier to extend when the next service or project needs a page.
Elementor Pro features that connect the whole website
Theme Builder gives your content a consistent frame
A header is part of every visitor's orientation. It should make the studio's services, work, and contact route easy to find. Elementor's Theme Builder lets you design headers, footers, single-content templates, and archive layouts visually, then decide where those templates appear. The official Theme Builder guide describes the template types and their role in the site.
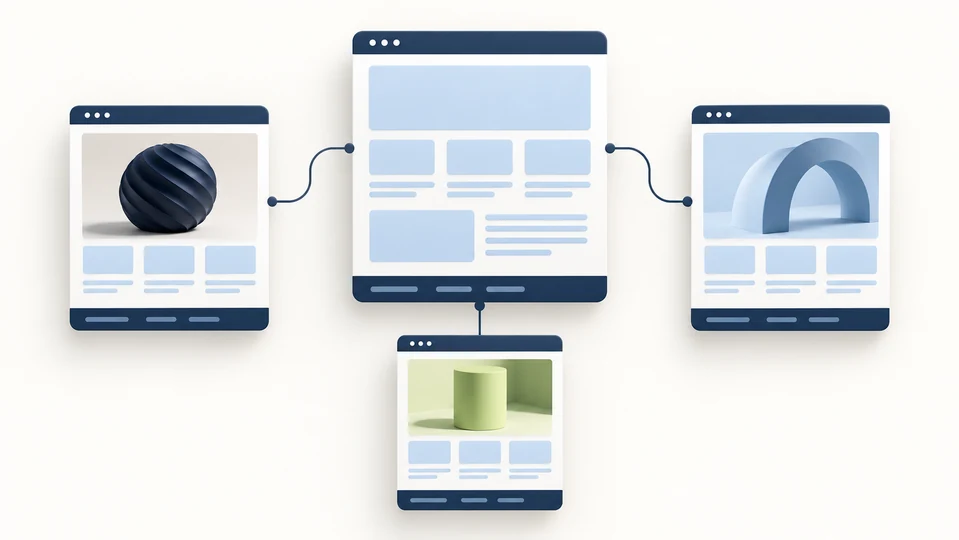
For our example, start with one site-wide header and footer. Then create a project template with space for a cover image, a project title, a short introduction, and an enquiry link. The individual projects can feel distinct through their content while retaining the same structure.
Display conditions give that structure a defined scope. A template can apply to the relevant content rather than every page indiscriminately. Name templates clearly and decide which content each one owns. That small organizational step becomes valuable when a services area and a portfolio need different layouts.
Dynamic content lets the layout follow the entry
Dynamic content connects a design to WordPress data. A title or image can come from the content being displayed, making the same template useful across multiple entries. Elementor documents this relationship in its introduction to dynamic content.
Imagine three studio projects: a restaurant identity, a product launch, and a hospitality website. Each entry supplies its own title and cover image. The template controls where those details appear. Updating the project content then updates the information shown in that layout.
Supported custom fields can add structured details such as a client name or project category. Elementor can display supported ACF field values through dynamic tags; the field system supplies the data structure. Our ACF Pro review explains that complementary role, while Elementor's ACF documentation identifies the supported connections.
The useful distinction is between designing the presentation and editing the information. A portfolio editor can maintain the project details while the established template keeps their presentation consistent. For a growing site, that is a more manageable workflow than rebuilding the same arrangement for each new entry.
Turn a landing page into a useful enquiry
The studio's service page should answer three questions: what the service includes, who it helps, and how to start a conversation. A form belongs naturally at the point where those answers become clear.
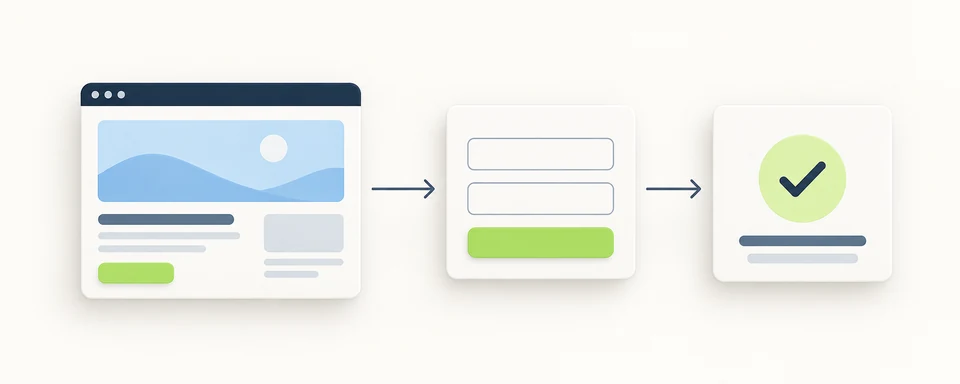
Elementor's Form widget lets you design fields and buttons within the page layout. Submission actions can send an email, redirect a visitor, or connect to a supported marketing service. The Form widget documentation explains the available controls and actions.
For a consultation enquiry, a useful starting point is a name, an email address, a service choice, and a short project description. Give each field a visible label and explain what happens after submission. A confirmation such as “Thanks — we have received your project enquiry” sets a clear expectation. A dedicated thank-you page can offer relevant project examples while the visitor waits for a reply.
Design and delivery work together here. The form creates the enquiry experience; the connected email or marketing service handles the next step. Our WP Mail SMTP Pro pricing and email delivery guide explores the sending side of that workflow.
Popup Builder offers another way to present a focused action. A “Discuss your project” button can open a compact enquiry panel, keeping the visitor in the context of the service they are considering. Conditions decide where a popup appears, triggers decide when it opens, and advanced rules refine its audience. These controls are described in Elementor's popup conditions and triggers guide.
Choose the invitation around the content. A portfolio page might offer a consultation; an educational article might offer a relevant newsletter signup. One clear offer with an easy close control gives the popup a useful purpose. The goal is to help the visitor complete the next step comfortably.
Give WooCommerce pages the same design logic
A studio that sells a workshop or a physical product needs a store that fits the rest of its website. Elementor's WooCommerce tools provide a visual design layer for that shopping experience. WooCommerce supplies the products and commerce functions; Elementor shapes how those elements are presented.
A product archive can use consistent cards, image proportions, and navigation. Elementor documents the process in its WooCommerce archive template guide. On a product page, arrange the image, description, price, and purchase action so that the buyer can scan the essentials before exploring the detail.
For a workshop example, lead with the subject, intended audience, and what the participant receives. Place the purchase action near that information. Use the same typography and button hierarchy as the service pages, so moving into the store feels like continuing through the same business.
The cart and checkout deserve equal attention. Elementor provides dedicated Cart and Checkout widgets for styling those areas. Give order details and fields room to breathe, and keep the primary action obvious on a narrow screen.
Product data, payment methods, shipping, and inventory remain part of the WooCommerce setup. Keeping that division clear helps you work efficiently: use Elementor for the layout, then configure the store's operations through the tools responsible for them.
An Elementor performance review starts with the page you design
A useful performance review looks at the finished page: its structure, images, interactive elements, and behavior on real screens. Those choices give you specific places to inspect and improve as the design develops.
Start with the visual hierarchy. A service page might need a strong introduction, relevant work, a concise explanation, and an enquiry form. Each additional section should earn its place. A focused structure gives readers fewer competing elements to process and gives the designer a clearer page to maintain.
Prepare images for their role. A project thumbnail does not need the same dimensions as a large cover image. Choose an appropriate file size and crop, and reserve space in the layout so surrounding content has a stable position as assets load. Use movement where it clarifies an interaction, and give static content a calm presentation.
Elementor also manages parts of the loading behavior. Its Optimized Image Loading feature handles image priority and applies lazy loading where appropriate, as described in the official image loading guide. For the studio portfolio, review the prominent project cover separately from thumbnails farther down the page. Give each image the treatment its position needs, then inspect the resulting page.
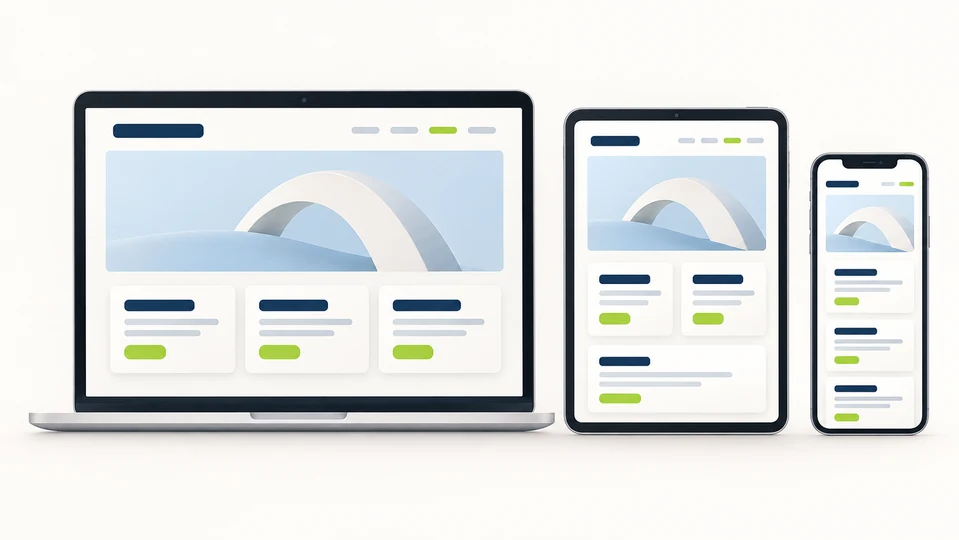
Elementor's responsive controls let you preview layouts and adjust settings for different screen widths. The mobile editing guide explains how responsive settings work. Review the reading order, image crop, button placement, and field spacing separately on desktop and mobile.
A two-column service section might become a single column on a phone. Keep the explanation before the action if that is the order the visitor needs. Check that a project card still communicates its subject and that a form remains comfortable to complete.
After the layout is assembled, inspect the actual page with PageSpeed Insights and test the primary interactions yourself. Use those observations to guide changes to that page. Our WP Rocket review covers caching and related optimization tools when you want to develop that part of the site further.
Elementor Pro pros and cons in everyday design work
Elementor Pro's strongest advantage is the relationship between its tools. A designer can shape a content template, enquiry form, popup, and shop layout using a related visual workflow. That continuity makes it easier to carry an established design language into new areas of the site.
Reusable templates add another practical strength. They let you improve a common layout while individual entries retain their own information. For a portfolio, publication, or service business, the benefit grows as the content collection expands.
There is still design work to plan. Global style references need consistent use. Template conditions need clear ownership. Dynamic fields need a sensible content structure. Learning those relationships is part of getting the most from the plugin.
The same applies to responsive layouts. A desktop preview is the beginning of the design review; mobile reading order and interactions need their own attention. A good workflow leaves time for that final pass.
Feature availability also follows the purchase route. Elementor's official feature matrix distinguishes the capabilities included with its subscriptions. For a GPL purchase, use the seller's product description and setup instructions to understand the package and services offered. This review explains the broader Pro toolset through useful scenarios.
GPL access through another delivery route
GPL describes a software license, rather than a reduced “lite” edition of Elementor Pro. Elementor states that its software carries GPL rights and distinguishes those rights from its account services, including support, updates, and the template library. Elementor's terms explain that separation; the GPL text sets out the conditions for distributing copies.
For a freelancer who manages their own layouts or an agency that provides client support, a GPL delivery route can be a practical way to access the developer's software. The original developer's direct support belongs to its own service offering. Downloads, assistance, and any included update delivery follow the chosen seller's terms.
WorldPressIT describes its Elementor Pro product as sourced from the original developer, with premium features included. Our Elementor Pro offer page connects this review to the download option.
Make your first build a complete journey
Start with a service page that has a clear job. Install Elementor Core, then add the Pro package using the supplier's instructions; Elementor confirms that Pro extends the Core plugin. Define your shared styles, create the header and footer, and connect the page to a useful enquiry form.
Once that journey works, extend the same design into project templates or shop pages. Elementor Pro gives you a visual toolkit for building those connections. A focused first project turns that toolkit into a website people can understand, navigate, and use.